
How to make a wooden frame for your fluid abstract painting.
So because I have been creating my fluid abstract paintings on my own canvas boards (see here for instructions on how to make the canvas boards), the paintings really needed a frame to finish them off.
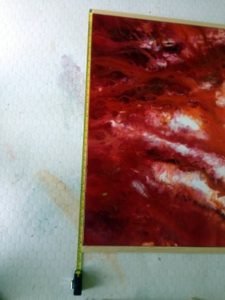
Firstly I’ll show you a picture of the finished article so you can see what I am talking about:

I had previously bought a painting by a well known Syrian artist and he had framed the painting with a simple wooden frame and I thought something similar would work with my paintings. So I tried a few things and came up with a method that gave me a nice simple frame.
There were another couple of reasons why I wanted to make my own frames – firstly I wanted the whole artwork to be of my creation and thus the frame was part of the creative process – secondly making it myself would give me complete control over what it would look like – thirdly the hassle and time factor of taking the painting to someone else to get them to make a frame and finally the cost factor meant that it was much cheaper to actually make it myself (although this fact on its own would not have led me to make it I must add).
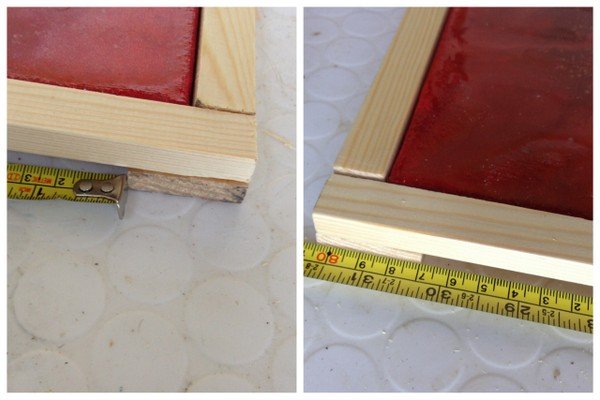
So I make this frame with two different sizes of pine stripwood depending on the size of the painting. One piece is wider and goes behind the painting and one piece is smaller and goes round the edges like this:
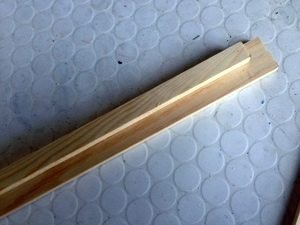
In this case I had one piece that was 36mm and the other was 18mm wide with both of them being 10.5mm deep (as the painting was on 6mm board so this worked out deep enough to be around the same height as the painting with the canvas on).
First up was to measure the longest side of the painting to cut a piece of the small stripwood to exactly match that length. Making sure both opposite sides are the same length, cut 2 pieces of the smaller stripwood for either the top and bottom of the sides.
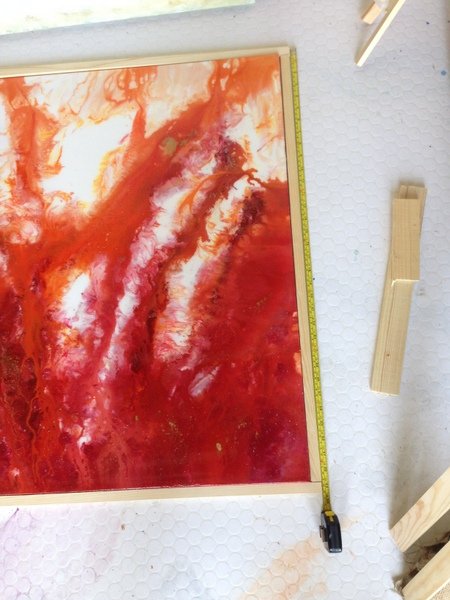
Next you need to cut more of the smaller stripwood to form a surround for the painting so these 2 pieces need to be the length of the painting plus the width of 2 pieces of the stripwood (see image below):
This should give you a frame that fits snugly around the painting.
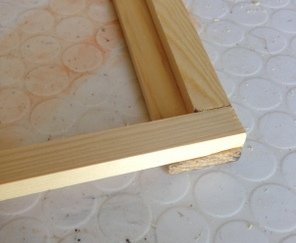
Next you need to cut 2 pieces of the wider wood to go underneath the narrower strips. In this case you want to overlap the wider pieces under the join of the narrower pieces so that you can screw them together later. So measure from the top to the bottom of the frame you have just cut out:
This will give you 2 side pieces that will meet like this:
Then finally you need to measure up for a piece to fit in between the underneath wide pieces (this is probably the most tricky to get accurate as you are still trying to hold the pieces in position at this point).
Once you have all the pieces cut out you need to screw them together. First thing is to ensure that you have the correct length screws that will go through both pieces of wood but not come out the other side! For this project I used 16mm screws.
you need to screw each back piece into the front piece with 2 or 3 screws (it depends on the length of the frame). Make sure the pieces are flush at the edges and that the shorter pieces are positioned in exactly the right place. On top of them the narrower piece will be shorter and on the other 2 the wider piece will be shorter.

Once you have all 4 sides screwed together you need to fix the corners to each other as per below:

You now have a frame ready for painting.
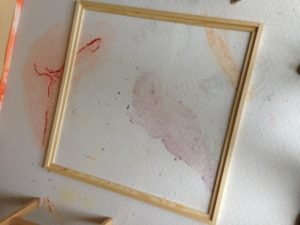
For my frames I painted them in white giving them a couple of coats of primer/undercoat first.
The painting sits on top of the wider wood but needs fixing to the frame. I fixed the painting by using these kind of brackets:
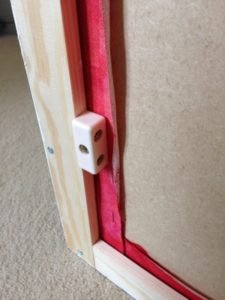
I’m not sure that these are the best things to use but I haven’t yet found anything better so if anyone has other suggestions please feel free to comment below.
Once fixed, this is the finished painting: