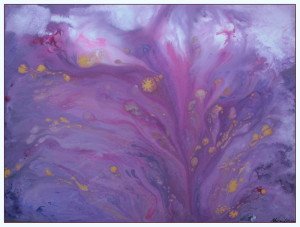
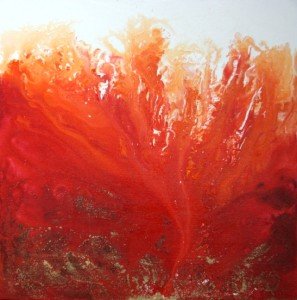
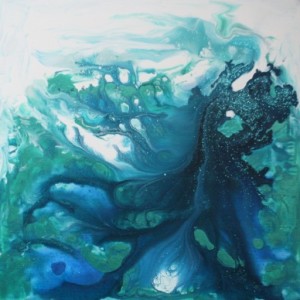
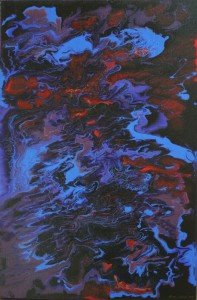
There are many methods of creating a fluid abstract painting and when I first started creating these in 2006 I used a basic recipe of just acrylic paint and water as the additives and mediums that are available now were not available back then! You can create some stunning paintings just using acrylic paint and water so definitely give this a tray. You may not get cells but you can get some other interesting effects.
You will need:
- empty plastic bottles
- acrylic paint
- water
- masking tape
- canvas
- paint spreader
Optional extras are:
- glitter
- gold/silver powder (this links to an article I wrote about these powders on another website)
- pouring medium
- water spray
To create a fluid abstract painting you can use either a canvas or some other base. It is possible to use wood if you have sealed and primed it, or I have used canvas stuck to wood in the form of a canvas board in a bunch of my paintings so that the paint does not pool in the middle of the canvas.
The bigger the canvas, the more likely you will have pooling of the paint as it is more difficult to stretch a canvas very tightly, the bigger it is. So, the tighter the canvas is stretched, the better the results you will have in terms of the paint being evenly spread.
When using a deep edge canvas I tend to stick masking tape around the edges of the canvas to stop the paint from dripping off the edges and save wastage. You don’t have to do this though as it is often nice to get the effect of the paint dripping off the sides of the canvas.
If you don’t mask the edges of the canvas then you will probably need some kind of container to catch the excess paint. I have a plastic tray that I bought that does a good job and I have posted a link to a similar one in the products page – options are available in both the UK and US.
Choose Your Colours
So the first thing you need to do is to decide on your colour palette for your fluid acrylic painting. Personally I use a lot of monochromatic hues in my paintings, sometimes adding in a dash of a complementary colour and at other times just going crazy and using a wild variety of colours! It’s really up to you as to what kind of end result that you want.
Here are a few examples of some colour combinations but obviously choose your own depending on the place you want the painting to go.
|
|
|
|
|
|
Once you have chosen your colours you need to make them fluid enough to use. This is where the plastic bottles come in. I use a mixture of approximately one part water to one part paint to create a fluid enough paint to use. But it really is a case of experimentation and I can’t emphasize enough how you should test out various combinations of colours and thickness of paint.
Different thicknesses of paint produce different results. If the paint has more water added then it will blend more into the other colours, so if you want more definition between the different colours then you need slightly thicker paint.
So once you have mixed up your paints then you are ready to go. It helps if you have an idea of the kind of pattern that you want to create with your paints. Obviously the way the paint moves is to a certain extent out of your control, but there is also a lot you can do to control it.
Add Paint to the Canvas
Firstly the position you put the paint on the canvas – whether you add patches of white into the painting and how watered down the paints are. But basically poor on the paint in patches and lines to start the painting off. There are a couple of ways I go from here – more often than not I use an icing spreader to join up all of the paint before moving it around on the canvas. The other way is to tilt the canvas around before making sure there are no gaps in the paint – you may want to check out the videos page for examples of how myself and others have done this.
Once the painting is pretty much done then you can add some glitter and/or gold/silver powder to the painting and move it about a little bit to get this appearing more organic. Glitter is probably a very personal choice as to whether to use it or not! I often add some gold or silver paint to the paintings too.
If you are not quite happy with the result so far then you can always pour off some of the paint and maybe add some more. Tilting in different directions can give you a good mix of paint and patterns. Once you are pretty happy with what you have got then don’t expect it to stay exactly how it is!
You will need to have a completely level surface to leave the painting on to dry* so it is worth using a spirit level before you put the painting down to check how level the surface is. (*although on some occasions I deliberately leave the painting on a slight incline to get the effect below:)


Both of these paintings were left so that the more watered down paint dripped off the bottom of the painting.
Once the painting is dry (or the paint is at least dry enough not to move when you move the painting) remove the masking tape from the side of the canvas. If you leave it too long it will make marks on the canvas. If you can remove the masking tape when the painting is still a bit wet you can use a sponge to ‘paint’ the sides of the canvas with the excess paint.
If you use water to mix your paints up with, you will likely need a gloss varnish to finish them off. Make sure the painting is completely dry before applying any varnish (and this could take a few days depending on the thickness of the paint). Alternatively, you can use a gloss medium to mix with the paint or else you could coat with resin – there is more information about this here.
Check out the blog section to see specific examples of paintings that I have created using this method and also check out the videos page to see videos from myself and other artists who use this method.


